


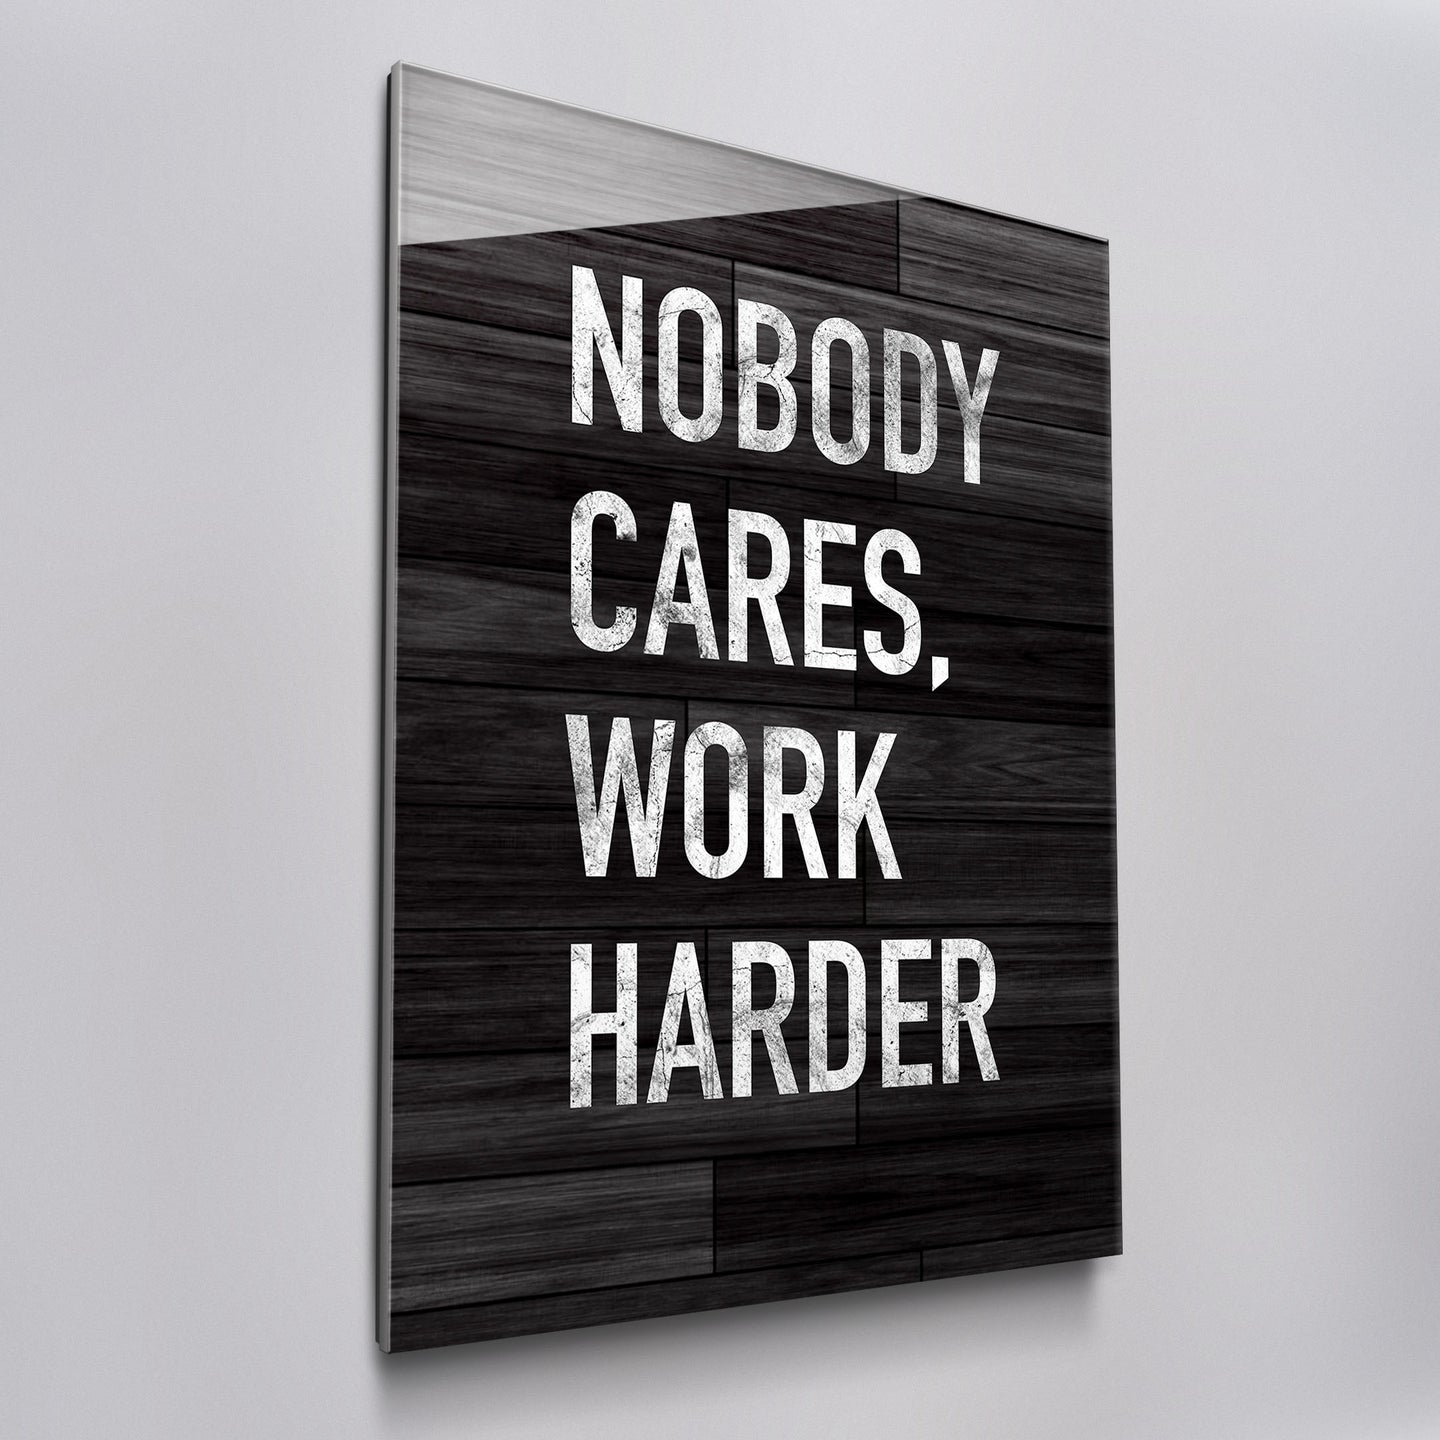


How to Hang Your Art
Choose your art type below and follow the step-by-step guide to get your piece mounted clean and level.
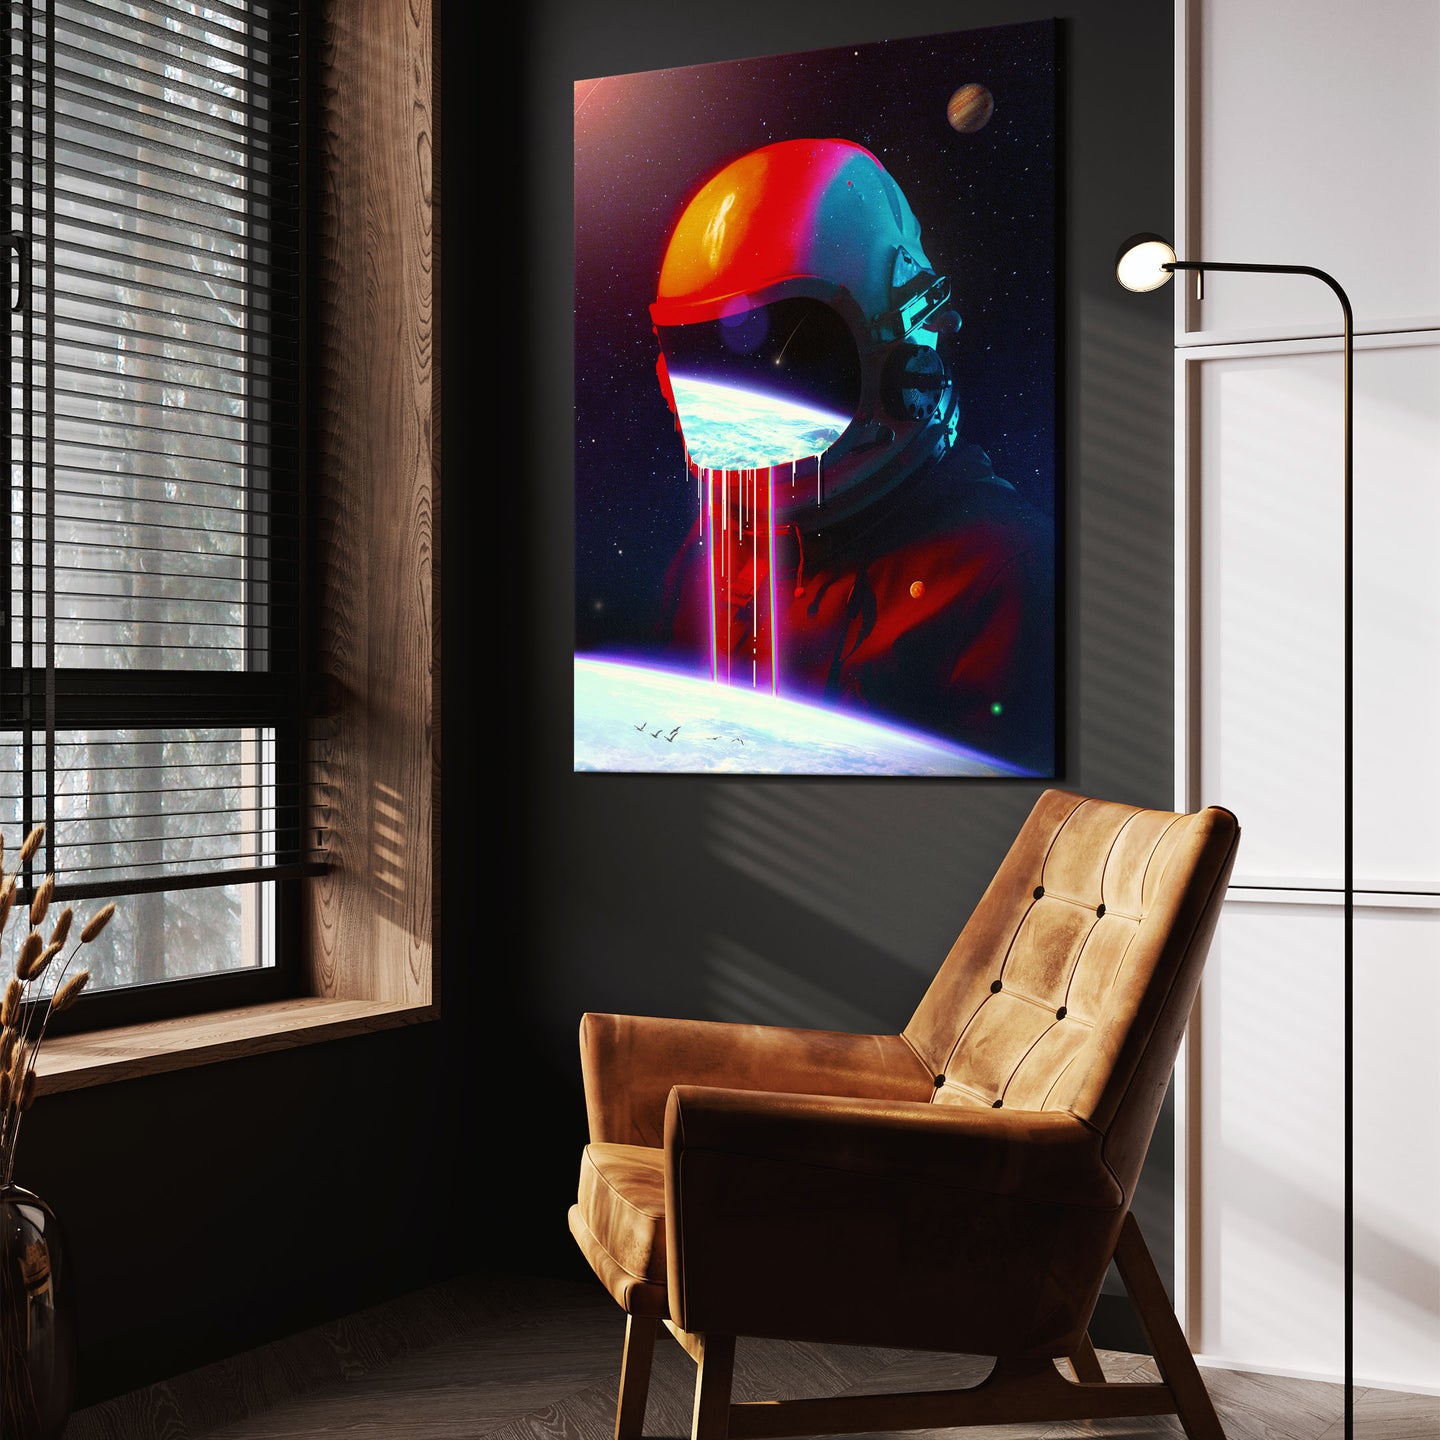
Canvas Art (Sawtooth Hangers)
Step 1: Size and Mark with Tape
Use painter’s tape to match the distance between the sawtooth hangers. Mark those spots directly onto the tape using a pencil.
Step 2: Level and Place Tape
Stick the tape on the wall where you want the piece to hang and use a level to make sure it's perfectly straight.
Step 3: Drill Holes
Drill into your marked holes and install screws or anchors, leaving about 1/4" sticking out.
Step 4: Hang Your Canvas
Hang the canvas by aligning the sawtooth hangers with the screws. Use a level to check alignment and adjust as needed.
Acrylic Art (Command™ Strips)
| ✅ Suitable Wall Types | 🚫 Not Recommended |
|---|---|
| Painted drywall | Brick or concrete |
| Tile (clean and smooth) | Textured or uneven surfaces |
| Glass, metal, or sealed wood | Wallpaper (may peel) |
Step 1: Prep the Wall
Don’t wipe the back of your acrylic art — the artwork is printed directly on it and could be damaged. Instead, clean the wall where the strips will be applied with rubbing alcohol and a microfiber cloth. Let it fully dry.
Step 2: Apply the Strips to the Back
Use all the Command™ strip pairs provided. Press each pair together first, then stick the assembled strips directly to the back of your acrylic piece. Start with one pair in each corner, then place any extras along the sides or center to support the weight evenly.
Step 3: Press to the Wall
Once all the strips are in place, peel off the backing and firmly press the entire piece onto the wall. Hold steady pressure for about 30 seconds to lock it in. Let it sit undisturbed for at least an hour before adjusting.
Step 4: Clean and Enjoy
Once mounted, use only a microfiber cloth and alcohol spray to gently clean the surface of your acrylic piece. Avoid any other cleaners or materials — they could scratch or damage the artwork.